How often do you end up purchasing two or three T-shirts instead of one? Or an extended warranty on the purchase of electronic goods?
That’s the power of upselling and cross-selling. Promote a more expensive or premium version of the product or a complementary product to your users via popup messages.
And it is even better when you get those popups readymade, with personalization that converts like fire.
Let’s see how to set up these WooCommerce upsell popups and boost your average order value.
High-converting WooCommerce upsell popups done for you
You never ever do the hard work again.
Offermative completes 15+ tasks for you automatically – campaign designs, product selection, copywriting, pages to target, conditional logic and more.
Select from a variety of popups, customize them as per your requirements and run them on different products.
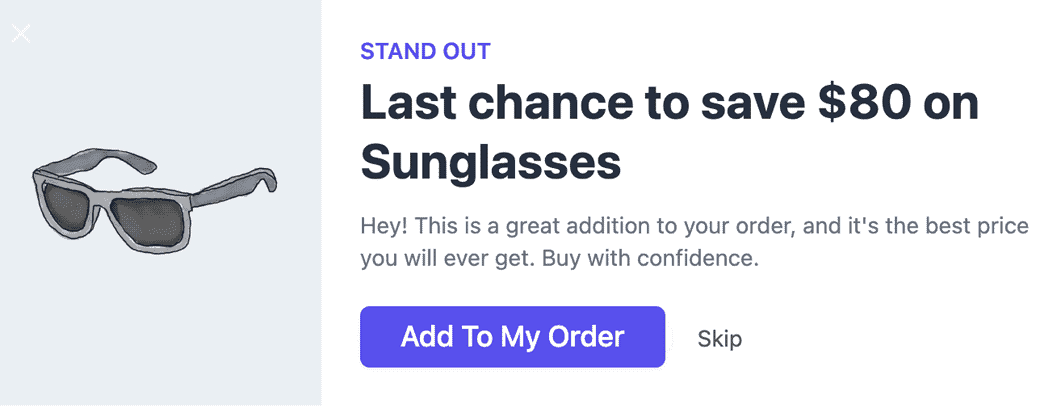
By intelligently analyzing past orders, Offermative identifies the perfect upsell opportunities and presents them to the customers, enticing shoppers to make additional purchases they hadn’t considered initially.
Once your offer popups are live, visitors will be nudged to add more products to their cart, thus increasing your sales tally.
Top features of Offermative upsell popups
- Stay in control of your popups – Customize the popup templates as per your brand style. Change colors, font text, font size, the products to offer, copy text, and more.
- Device responsive – The popups will auto-adjust as per the device size, be it iPhones, iPads, Android phones, or your laptops and desktops, thus clearly pitching your offers, without any obstructions.
- Yes/No CTA – You can’t force your users to accept the offer, so you need to add the No CTA. But use it for your own benefit. Don’t simply add a No or Skip. Instead, mention ‘No, I would miss this offer’ to tell visitors that they are losing a valuable deal.
- No coupon code required – This is another major advantage. You do not need to create coupons, nor do your users need to apply them. The coupon will be auto-created and applied as per the discount value chosen.
Steps to set up upsell popups in WooCommerce
With Offermative, you can run as many upsell offers on different pages based on conditions. Offer the most relevant products / persuade to buy add-ons users can’t deny.
- Purchase the Offermative plugin. Install and activate it, as you do for any WordPress plugin.
- Then, log in using your email and password (automatically sent to your email).
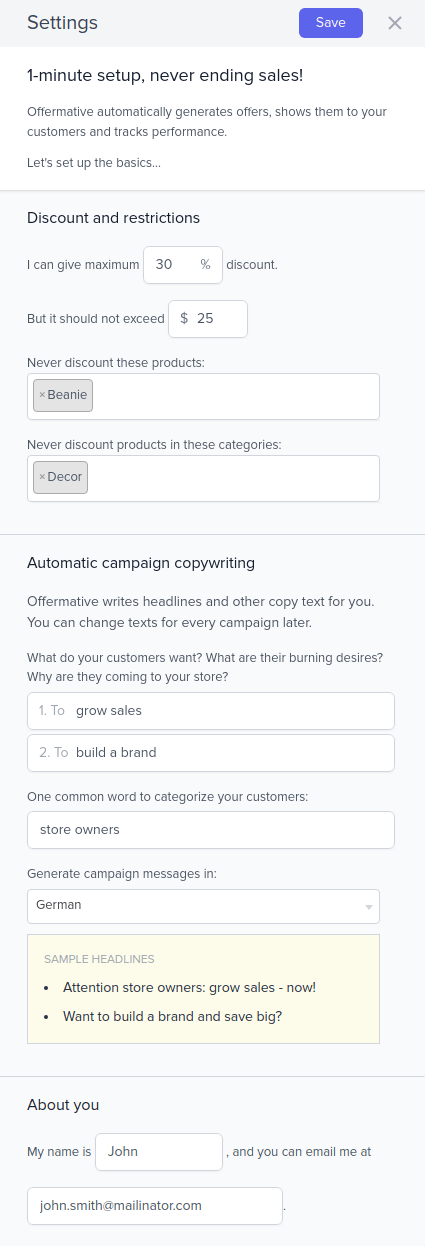
- Under the
Settingsscreen, input these details – your target customers, their desires, the language, the maximum discount to offer, and any exclusions. Save your Settings. For more information, refer here. - Next, you’ll see the
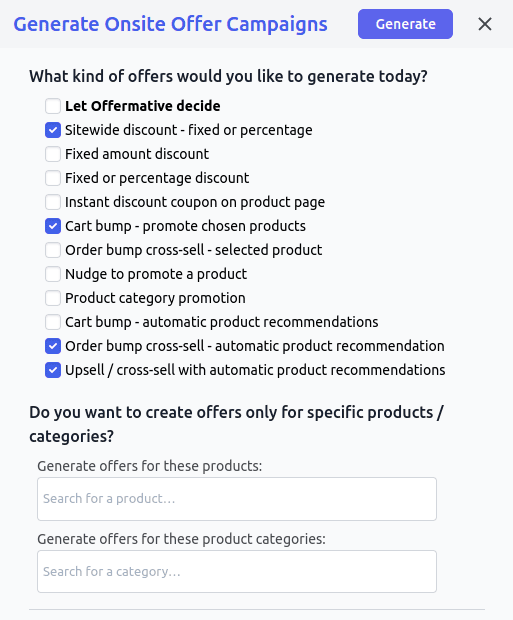
Generate Offer Campaignsbutton. Click on it. You’ll have two options:- Let Offermative decide
- Other offer types (you can choose multiple options)
- Search and select the products or categories if you want to create offers only for those.
- Click on the
Generatebutton. Offermative will generate ten campaigns in one shot. Click on it again to generate more campaigns. - Navigate through different campaigns using the arrows. Check the Approve box if you like any campaign. Modify the campaign title on the top by renaming it as desired.
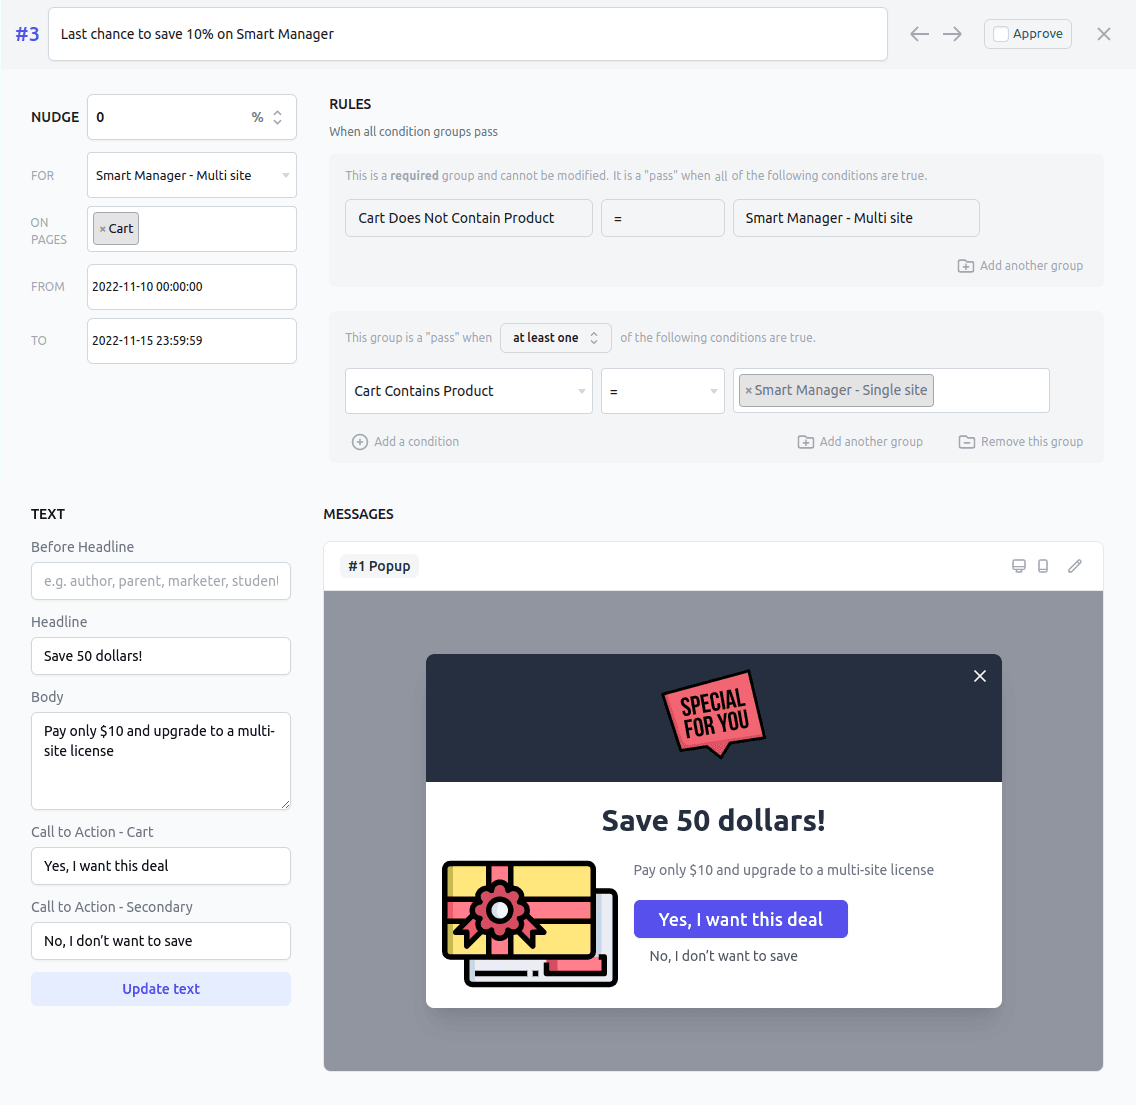
- On the top-left of the campaign, set the discount as zero. You can enter a value if you wish to offer the upsell product at a lower price.
- Under FOR, enter the product to upsell. Here, we want to upsell the ‘Smart Manager multi-site license’ when any user adds the ‘Smart Manager single-site’ license to the cart. Offermative also works with WooCommerce Subscriptions and other product types.
- Under
ON PAGES, select the Cart page. - Choose the date range and time for the offer.
- Under
RULES, set the rules as follows:- Cart Does Not Contain Product you want to upsell (Smart Manager – Multi-site) which is obvious.
- Cart Contains Product (Smart Manager – Single site) on which you want to show the upsell offer.
- Set up multiple rules based on cart total, customer purchase history, and customer LTV to show more personalized upsell offers. The offer will be shown only when all the condition rule groups are satisfied. You can edit the pre-generated rules for the campaigns.
- Under the
MESSAGESsection, select how to show the offer – as a WooCommerce upsell popup, header-footer bar, or messenger. We select the popup message here. - Click on the Pencil icon if you wish to customize the message type for colors, fonts, buttons and other CSS elements.
- For each campaign, an offer copy is generated – headings, description, CTA text. Make edits if required and click on the Update text button.
- Publish your campaign.
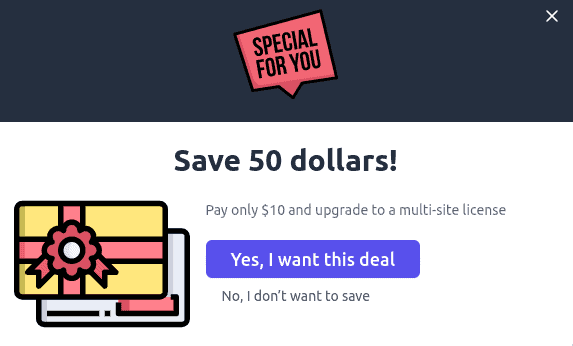
Woohoo! Your WooCommerce upsell popup is ready. Here’s how the upsell popup would look on the cart page.
More personalized upsell popups to get better sales
Simply tweak the campaigns to suit your requirements, and you have more personalized offers to delight your customers.
Upsell popup based on product category
Promote related products based on the current category of the product into consideration or from another category.
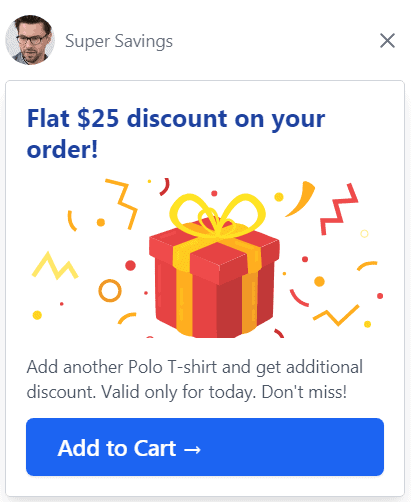
- Upsell with or without discount on the same category – upsell a T-shirt when the current product added to the cart is only from the Fashion category.
- Upsell with or without discount based on different categories – recommend a Bag when the cart contains a laptop.
Upsell / cross-sell multiple products/bundles per popup
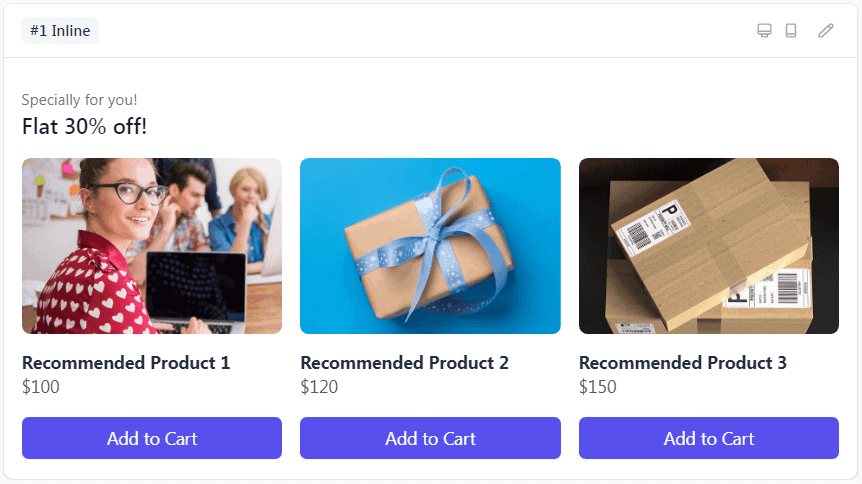
This is quite helpful to recommend multiple related products or bundle items.
- Books from the same author.
- Extra lens, tripod stand, and protective case on when selling a camera.
- Airport transfers + visa fees can be clubbed on top of a basic vacation package for travel agencies.
- For trekkers, a trek pole + boots + fleece jacket bundle can be an awesome bundle upsell on booking of a mountain trek.
- For the fashion industry, a set of clutches or lipsticks of different shades can be a valuable bundle to recommend.
- Loyalty Programs or Memberships: Offering customers the chance to join a loyalty program or membership that grants them exclusive benefits, discounts, or rewards.
Upsell via order bumps
Another way to offer upsell products is via order bump. Order bumps are shown on the checkout page below/after the Payment button.
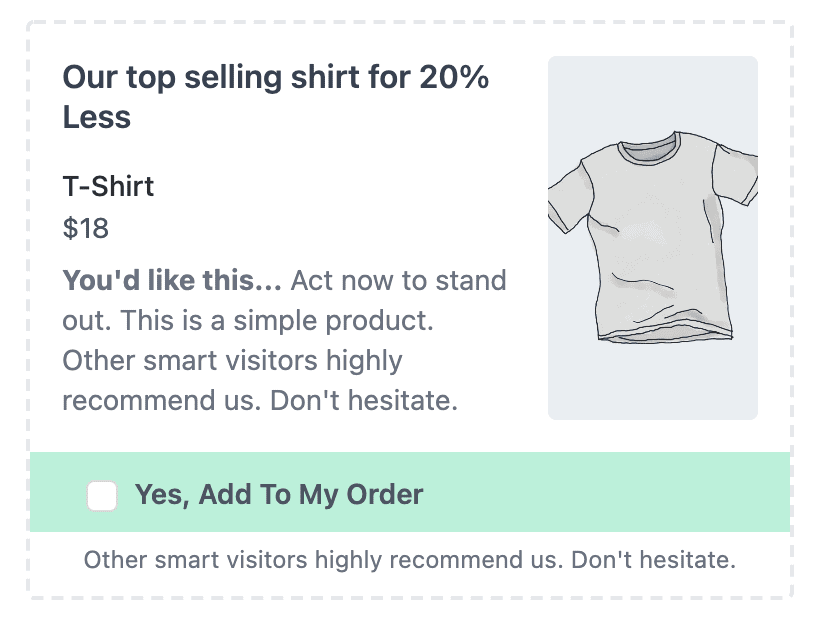
Quite useful to sell extended warranties, services, add-ons, and support plans on higher-value items. And these being essential items, people won’t deny.
Run upsells on multiple products
Start upselling multiple products via popups. Set up hundreds of upsell offers on different pages with different rules. Monitor each campaign performance and identify what works better.
Upsells based on previous purchases, order total, LTV
Run upsells based on powerful targeting rules for better conversions:
- The cart total is above $200
- Show upsells only to logged-in users
- Do not show upsells for the first order
- The lifetime value is above $500
- The user has / has not purchased that product before
- The user has / has not purchased any product from that category before
- Show offers only to desktop and laptop users
and many more…
Upsell on bulk purchases
Run upsell offers when the product quantity in the cart exceeds a certain value.
Upgrade your sales game
Driving sales and increasing profits requires strategic finesse. Enter Offermative with its WooCommerce upsell popup benefit that empowers online businesses to boost their revenue effortlessly.
It will help you get those perfect offers and bring you sales with its AI. However, it’s essential to strike the right balance and ensure that upsells genuinely enhance the customer’s experience rather than coming across as pushy or manipulative.
Boost your profits, and delight your customers with personalized offers they can’t resist.
